How Long After Primer Can You Paint: Essential Guide
Have you ever wondered how long after primer can you paint? Many DIY enthusiasts and professionals alike face this question, as applying paint too soon can lead to unsatisfactory results. Understanding the proper timing between priming and painting is crucial for achieving a smooth, durable finish that enhances the longevity of your project. With over 15 years of experience in the painting industry, I will guide you through the essential factors that influence drying times, including environmental conditions and product types. In this article, you’ll learn not only the recommended waiting periods but also tips to ensure your paint adheres properly for a flawless finish.
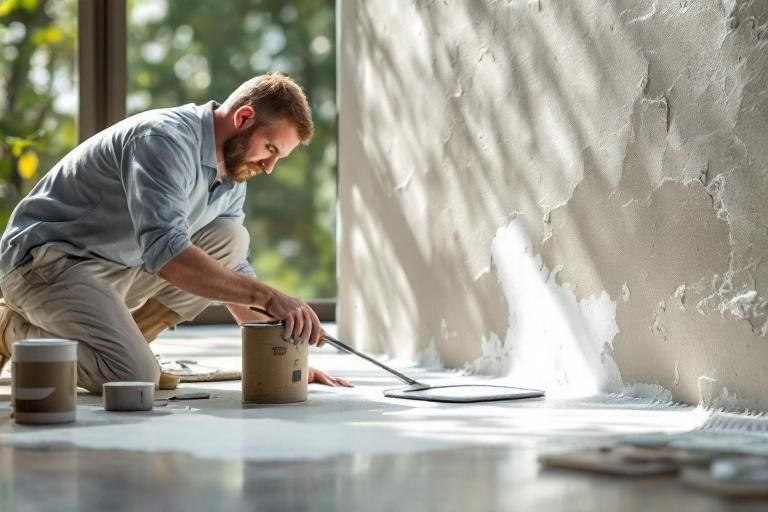
Understanding Primer and Its Role
Primer is an essential base coat applied before painting, serving multiple purposes such as improving paint adhesion, sealing porous surfaces, and enhancing the overall finish. The drying time of primer is crucial, as painting too soon can lead to issues like peeling or uneven application. Factors such as the type of primer used, environmental conditions, and the surface being primed can significantly influence how long you should wait before applying paint. Generally, the waiting period can range from one hour to 24 hours, depending on these variables.
Types of Primer
There are various types of primers available, including oil-based, water-based, and shellac primers. Each type has its own drying times and suitability for different surfaces. For instance, oil-based primers usually take longer to dry compared to water-based ones. Understanding the type of primer you’re using is important in determining the appropriate waiting period before painting.
Environmental Factors
Temperature and humidity play a significant role in the drying time of primer. In higher humidity or lower temperatures, primer may take longer to dry. Ideally, painting should be done in a controlled environment where temperatures are between 50°F and 85°F. Monitoring these conditions can help ensure optimal results.
Key Points:
- Primer enhances paint adhesion and finish quality.
- Drying time varies based on primer type and environmental conditions.
💡 Always check the manufacturer’s instructions for specific drying times.
💡 Perform a touch test to ensure the primer is dry before painting.
Determining When to Paint After Primer
Once the primer is applied, determining the right time to paint is crucial for achieving a smooth and durable finish. It’s essential to follow the recommended drying time specific to the primer used. Some primers may indicate that painting can be done once the surface feels dry to the touch, while others may require a full cure time to prevent issues. A general rule of thumb is to wait at least one hour, but this can vary significantly based on the type and conditions.
Touch Test Technique
A practical method to check if the primer is ready for painting is the touch test. Gently touch the surface; if it feels dry and does not stick to your finger, it’s likely safe to paint. However, if it feels tacky or leaves residue, additional drying time is necessary.
Cure Time Considerations
Cure time refers to the time it takes for the primer to fully set and bond with the surface. This can take anywhere from a few hours to a full day. For best results, especially in situations where heavy wear is expected, allowing the primer to fully cure before painting is advisable.
Key Points:
- The touch test is a reliable method to assess primer readiness.
- Cure time is important for the longevity of the paint job.
💡 Always allow extra drying time for optimal adhesion.
💡 Avoid painting in direct sunlight or windy conditions to ensure even drying.
Understanding Primer Drying Time
Primer is a crucial step in painting, as it enhances paint adhesion and provides a uniform surface. However, the time you need to wait before painting over primer can vary based on several factors. Typically, water-based primers dry to the touch in about 30 minutes to an hour, while oil-based primers might take up to 24 hours. Always check the manufacturer’s instructions for specific drying times. Humidity and temperature also play a significant role; high humidity can extend drying times considerably, while lower temperatures can slow down the drying process as well.
Factors Affecting Drying Time
The drying time of primer can be influenced by environmental conditions. High humidity levels can prevent proper drying, making it crucial to monitor the weather when planning your painting project. Additionally, the thickness of the primer coat affects drying time; applying a thicker coat may require more waiting time before painting.
Touch Dry vs. Fully Cured
It’s important to distinguish between touch dry and fully cured. A primer may feel dry to the touch within an hour but may not be fully cured for several hours or even days. Painting too soon can lead to issues such as peeling or bubbling, so ensure the primer is fully cured for optimal results.
Key Points:
- Drying time varies based on primer type and environmental conditions.
- Touch dry does not equal fully cured; wait for the latter before painting.
💡 Always test a small area before full application to check if the primer is ready.
💡 Use a moisture meter to assess humidity levels for more accurate drying time predictions.
💡 Plan your painting schedule around weather forecasts to ensure optimal drying conditions.
Best Practices for Painting Over Primer
Once the primer is adequately dried and cured, following best practices will ensure a successful paint job. First, inspect the primed surface for any imperfections or dust that may have settled during the drying process. Lightly sanding the surface can help create a better bond between the primer and paint. Additionally, make sure to use a suitable paint type that matches the primer for optimal adhesion and finish.
Surface Preparation
Before painting, inspect the primed surface for dust, debris, or imperfections. A clean, smooth surface will enhance paint adhesion. If necessary, lightly sand the primer using fine-grit sandpaper to achieve a better bonding surface for the paint.
Choosing the Right Paint
Select a paint that is compatible with the primer used. For instance, if you’ve used a latex primer, opt for latex paint. This ensures the best adhesion and finish. Always follow the manufacturer’s recommendations for compatibility to avoid issues down the line.
Key Points:
- Proper surface preparation is essential for a flawless paint job.
- Choosing compatible paint enhances adhesion and overall finish quality.
💡 After sanding, wipe the surface with a damp cloth to remove dust particles.
💡 Use painter’s tape to protect areas you don’t want to paint, ensuring clean lines.
💡 Consider using a paint sprayer for a smoother finish, especially on large surfaces.
EXPERT TIPS Pro Advice
Check for moisture levels before painting.
High moisture can extend drying times significantly, so ensure the environment is suitable for painting.
Perform a scratch test to confirm curing.
Gently scratch the primer surface with your fingernail; if it feels hard and doesn’t dent, it’s ready for paint.
Use a primer with a built-in sealer.
This can provide better adhesion and speed up the overall process, allowing you to paint sooner.
Consider temperature fluctuations.
Extreme changes in temperature can affect both drying and curing times, so aim for consistent conditions.
Utilize a fan to improve airflow.
Improved airflow can help the primer cure faster, especially in humid conditions.
Frequently Asked Questions
Conclusion
Understanding the appropriate waiting time after applying primer is crucial for achieving a flawless paint finish. Generally, a wait of 1 to 4 hours is advisable, depending on environmental conditions. Additionally, sanding the primer can enhance adhesion and surface smoothness.
🎯 Key Takeaways:
- Wait 1 to 4 hours after primer before painting.
- Humidity and temperature affect primer drying time.
- Always let primer dry fully to avoid paint issues.
- Lightly sand primer for better adhesion.
- Using primer is essential for a quality finish.
Expert Advice: Be patient and allow the primer to dry completely for the best painting results. Following these guidelines will help you achieve a professional-looking finish on your project.
Take the time to prepare your surfaces correctly, and you’ll enjoy a beautiful, long-lasting paint job.